
I got this idea from a blog I came across, and though I did mine a bit different hers is wonderful and provides other options for this project. These burlap boards are pretty popular and cost between $49.00 - $89.00. When I saw them I immediately wanted one for Eleanor's nursery, but I refused to pay that kind of price. I did some research and found a tutorial, did a bit of tweaking to make it my own, and now I have a burlap board that cost me less than $7 (I already had some of the things that are needed, so it might be a little more expensive if you have to buy some of the tools and things). So, without further ado:
The Burlap Covered Bulletin Board.
Things you will need:

bulletin board - (any size)
burlap - $2.99 a yard (enough to cover your board, I got one yard from Joanns)
upholstery nails - $1.30 per 25 count (enough to go around your board; I got two boxes from Lowes)
some kind of wire or string - (I used beading wire, just because that is what I had)
staple gun - (I have also heard of people using a glue gun)
hammer
tape - measure or ruler of some sort (not pictured)
nail - (not pictured)
Step #1: Cover the bulletin board with burlap. Wrap the burlap around the edges of the board and staple it to the back. I used MANY staples so there is no chance of the burlap coming loose. I'm sorry if the staples are hard to see in these photos.


The corners are a little tricky. These photos might not make it any easier but I tried to show how I did the corners.

I folded in the corner kind of like how you do corners when you wrap a birthday or Christmas present. It is also kind of like making the corners of a bed, I think.

I put a staple on both the top of the folded in corner and on the side.

Then make a final fold up and over, covering that side staple and staple it to the top. Then continue stapling the burlap down the side until you come to the next corner. Make sure to pull the burlap SUPER tight as you are stapling it.
Step #2: When you are done stapling the burlap to your bulletin board on all sides, cut off any excess fabric.

The back of your board should look like this:

The front should look like this:

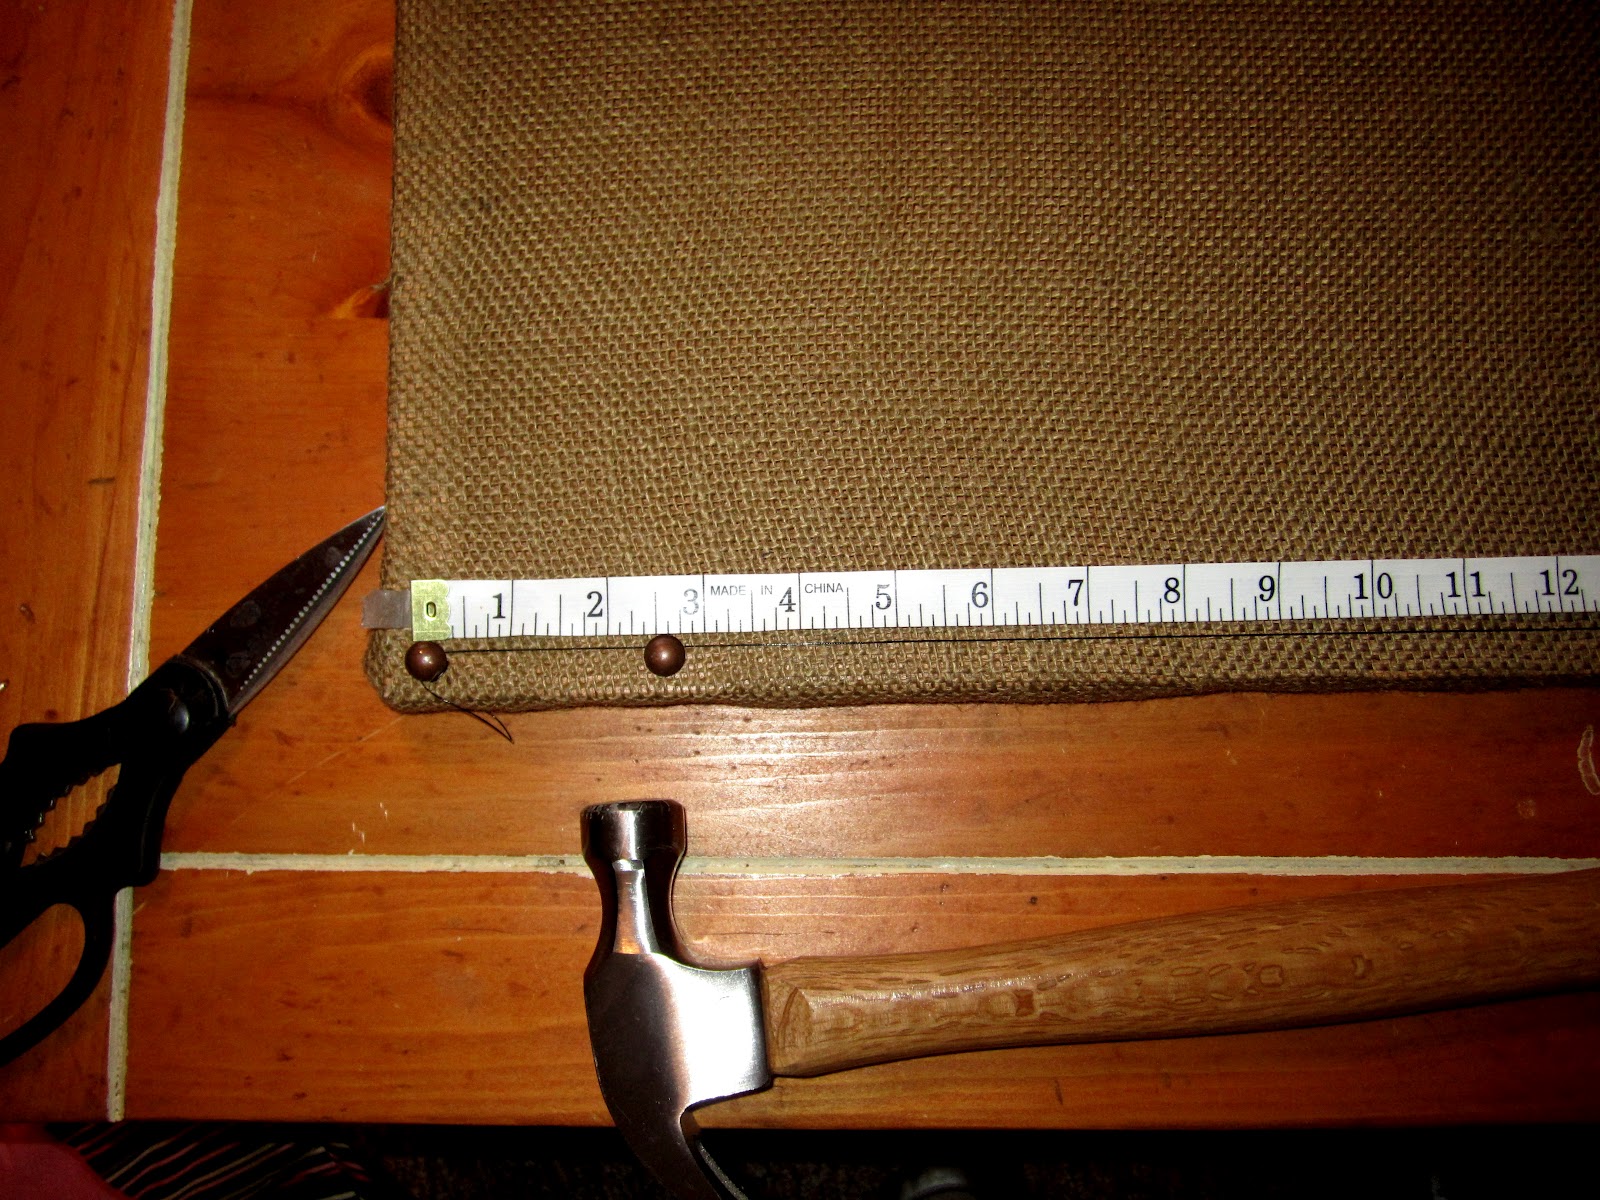
Step #3: Now you want to put in the upholstery nails around the edges of the bulletin board. These nails are more like push pins...they bend very easily and I learned the hard way that they do not hammer in like normal nails. To solve this problem I used a real nail and hammered in a hole, pulled the nail out, then pushed the upholstery nail into the hole. This system worked VERY well.
First, you want to put in the four corner nails. After that, use a string, wire, or thread to make a straight line from one corner nail to the other so you can put the rest of the nails in a straight line.


Step #4: Measure the dimensions of your bulletin board and divide that number by the number of upholstery nails you have or you want to you use. So I measured all the sides of my board and added them together and then divided that number by 50 (the number of nails I had). The number you get is the amount of space you want between each nail. Use your measuring tape or ruler to place your nails around the board.

Tip: After I divided my measurements by 50 I got a number like 2.32in. That is a very hard measurement to work with. To make up for human error I put in two upholstery nails on the left side of one of the sides, then two nails on the right side, then two nails on the left side, etc. This way once you get to the middle of the board, if you have made errors you can just put the last nail right in the middle and no one will ever notice.
After all the nails are in, you are done! YAY! Enjoy!


Hey - pretty handy! This is really nice. Congratulations!
ReplyDeleteI love the addition of the upholstery nails -- nice job, girl!
ReplyDeleteSo cute! I am impressed that you made that AND that you made such a great tutorial on it. Good job!
ReplyDelete